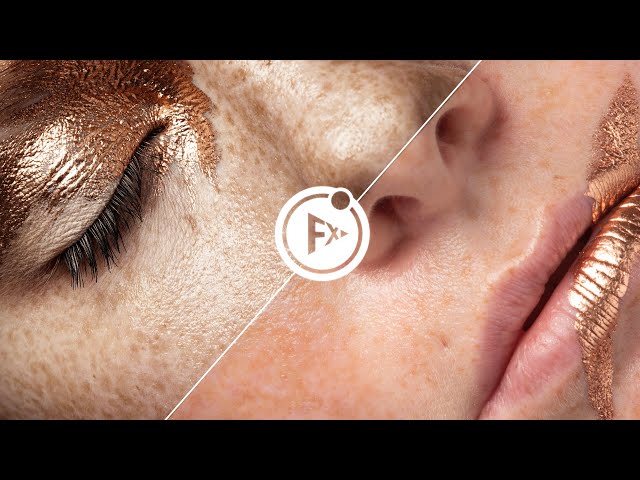
Match Color is a preset from the Retouching Bundle. It allows you to match two colors based on mathematical calculations. You can easily correct skin colors or adjust different shades in clothing.
Instructions
- Click on the Create button of the preset.
- The color picker dialog opens. With the eyedropper, click into the image on the color of the area, which should serve as a reference. Confirm with OK.
- A second color picker dialog opens. Now choose the color that you would like to match and confirm with OK.
- The FX-Panel will give you a group with a layer mask. Select a brush and paint over the area you have chosen secondly, to adjust the color.
- There is also a gradation curve in that folder. This allows you to control the brightness of the new color.
The eyedropper has a 31pixel sampling size. You can adjust this in the Photoshop bar, of course.

Basics
Reference Color

You can determine if the first or second color you choose should be the reference color. Reference color means that the other color is matched to that color.
Invert Mask

This option turns the mask black, meaning the matching color is not visible. With a white brush, you can now paint on the area, where the color should be adjusted. If you’d rather start with a white mask, you’ll need to disable this option.
Group Settings
Close Group

This option allows you to close the group in Photoshop if you don’t want to edit the adjustments further. The group will remain open if you disable this option.
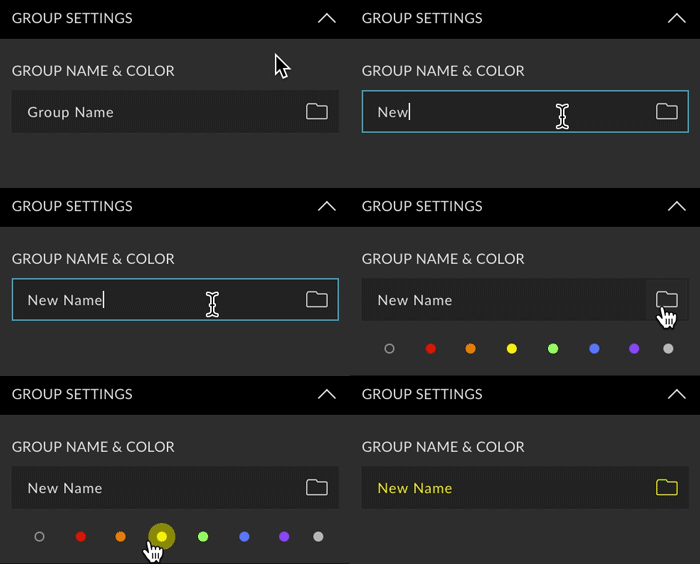
Group name & color
You can define the name and color of the group.

Tool
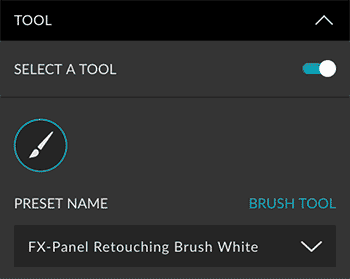
Choose whether to select a tool after matching the colors. For each tool, you can use the current settings or define a tool preset (if any). The following tools are available:
- Brush


