Export is a preset from the Essentials bundle. It allows open documents to be exported easily, quickly and efficiently. You can manipulate the size, change the name and determine the location. In combination with custom presets, you can create your own export specifications and thus optimize your workflow.
Export formats
Open documents can be exported to the following four image formats:
- JPG
- PNG
- PSD
- TIFF
Format options
The following format options can be specified for the corresponding image formats.
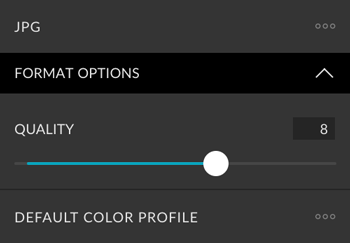
JPG
| JPG Quality | Slider with values between 1 and 12. |
|---|---|
| Color Profile | Default color profile, sRGB, Adobe RGB, ProPhoto |
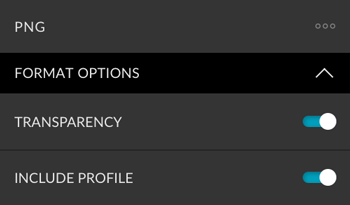
PNG
| Transparency | Saves PNG with transparency |
|---|---|
| Color Profile | Includes color profile |
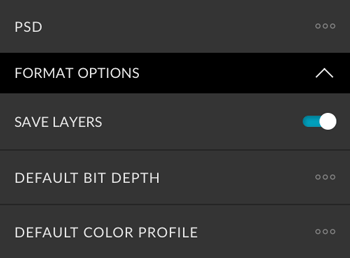
PSD
| Save Layers | Save layers or flatten document |
|---|---|
| Bit Depth | Default bit depth, 8-bit/component, 16-bit/component |
| Color Profil | Default color profile, sRGB, Adobe RGB, ProPhoto |
TIFF
| Save Layers | Save layers or flatten document |
|---|---|
| Compression | No compression, JPG, ZIP, LZW |
| Bit Depth | Default bit depth, 8-bit/component, 16-bit/component |
| Color Profil | Default color profile, sRGB, Adobe RGB, ProPhoto |
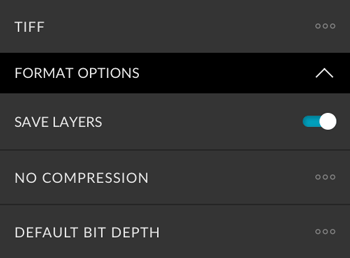
Image size
You can change the image size relatively or absolutely. If you want to keep the original image size, you need to disable “Resize Image”.
Reference for image size
| Long edge | The new document will be scaled proportionally to the length of the value defined in the pixel slider. |
|---|---|
| Short edge | The new document will be scaled proportionally to the width of the value defined in the pixel slider. |
| Percentage | The new document will be scaled in percentage by the value defined in the percentage slider. |

No upscaling
This option prevents images from being enlarged. For example, if you use custom presets that are 1000 pixels long, but your image is only 800 pixels long, it will be saved but not enlarged.
Resolution
If you want to change the resolution of the picture, you have to activate “change resolution”. When inactive, the original resolution of the image will be used.

Resampling
The following methods are available for changing the image size. Learn more about resampling options in this article from Adobe.
- Automatic
- Bicubic
- Bicubic auto
- Bicubic sharper
- Bicubic smoother
- Bilinear
- Nearest neighbour
- Preserved details

Document name
You can specify a name for the exported files. This can be unique, e.g. “New Document”; for this you have to activate “Rename new document”. Or you can attach a suffix to the original name, e.g. “copy”. If you want to keep the original name, you must deactivate “Add suffix”.

Destination folder
You can specify where the file should be exported to.
| Specific folder | Select any folder on your computer. |
|---|---|
| Original folder | The same folder where the original document is stored. |
| Parent folder | The parent folder of the original document. For C:\Folder 1\Folder 2\OriginalImage.psd it would be “Folder 1”. |
| Choose later | Decide later, where to save your document. A dialog will open where you can define the location (but not the file name). |
| Desktop | The image will be saved on the desktop. |
| Custom main folder | You can define a custom folder that serves as a variable. Unlike the specific folder, it will always be the same location (until you change it again). This is especially relevant in combination with custom presets. When custom presets refer to a custom folder, the location of all custom presets changes as soon as you change the path for the custom folder. |
Subfolder
You can define a subfolder for each destination folder. If the folder does not exist, it will be created.

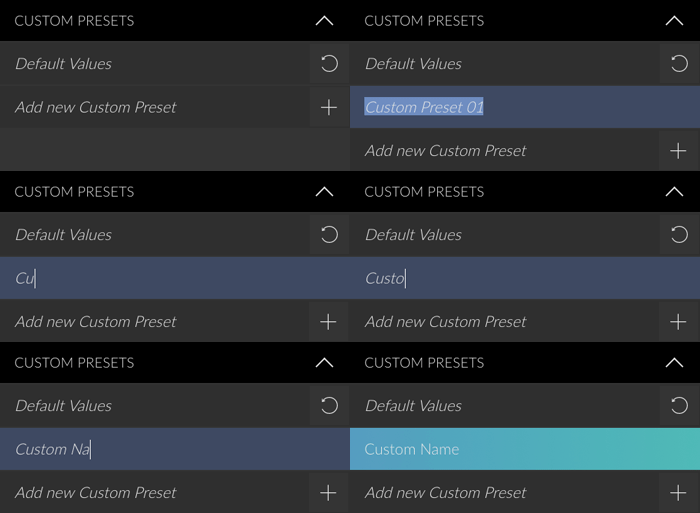
Custom Presets
All settings can be saved as Custom Presets and accessed easily at any time. Read more about Custom Presets in this article.
Create Button
You can only create this presets. Read more about the Create Button in this article.

Preset Options Screenshot


