Instagram Story Slideshow
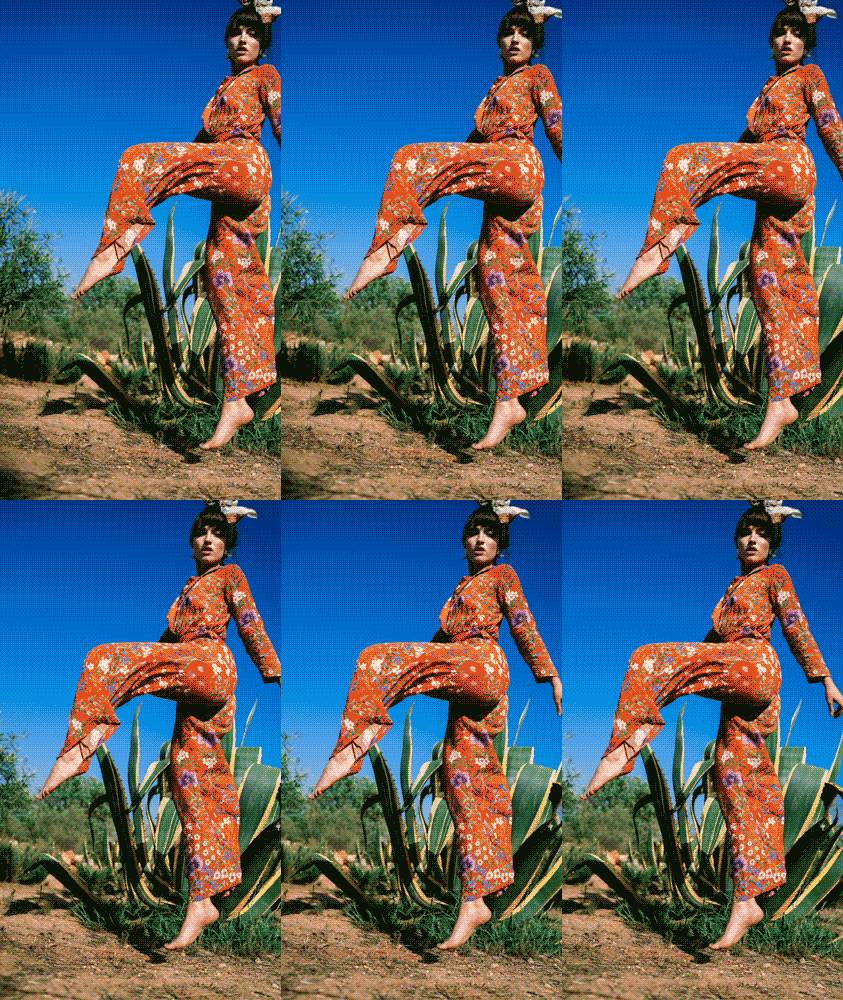
In this tutorial, DomQuichotte shows you how to use the Slideshow preset from the Essentials bundle to quickly and easily animate your pictures for an Instagram story.

1. Import images
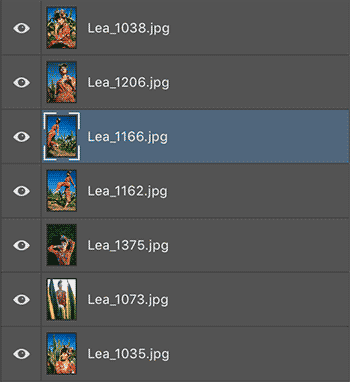
First, you have to import all the images you want in the video into a new document. In Photoshop go to File > Scripts> Load Files into Stack. If you want to load all pictures from a specific folder, you have to select “Folder” as the source file. Otherwise you can import individual files. Click on “Browse” and select a folder or the multiple pictures. Confirm with OK.

Photoshop generates a new document and creates each image as a separate layer.

2. Image Size
Now that all images are in a document, you have to bring them to the appropriate size. For Instagram, it’s the HD 9:16 format, so 1080 x 1920 pixels. To make sure you don’t have to manually transform so much, it is recommended to bring the document height to 1920 pixels. Select Image > Image Size. Set the resolution to 72 and then the height to 1920 pixels. The width should adjust automatically. Confirm with OK.

3. Canvas Size
In order for the proportions to be right for Instagram, you need to adjust the canvas. Select Image > Canvas Size and set the width to 1080 pixels. The anchor should stay in the middle. Confirm with OK. Presumably, Photoshop will show a message that the workspace is smaller than the current canvas size. Click Proceed.


4. Image Position
Now your document is in the output format. That means, your video will show the images exactly as they are right now. Therefore you should go through the images one layer at a time and adjust the position with the move tool, if necessary.

5. Set Slideshow
Open the FX-Panel via Window > Extensions > FX-Panel. Navigate to the slideshow preset from the Essentials package and open the preset options. Set the following parameters:
- Delay per layer: 1.0
- All Layers
- Order (first): as desired
- Frame-Animation: off
- Export Dialog: off

6. Transition (optional)
If you want to crossfade the pictures, you can activate the transition. I recommend a transition of 10 frames.

7. Set a duration
Instagram Stories are limited to 15 seconds. That’s what you should set in the FX-Panel. Activate the “Set duration” option in the slideshow preset. Choose duration by length without even delay and set the slider to 15 seconds.

8. Export video
Click on the Create button and let Photoshop generate the video. The Timeline window opens automatically and you can play the video by hitting the spacebar. You can make adjustments if something doesn’t fit. If the pictures change too fast, for example, you can set the “delay per layer” value higher. If everything fits, activate the “Export dialog” toggler in the preset options and click again on Create.

You can leave the settings in the render dialog just like they are. All you have to do is define a name for your video and choose a folder. Click on Render and your video will be created.

Leave a Comment
You must be logged in to post a comment.


Hi! Do you use Twitter? I’d like to follοw yoս if that would be
ok. I’m definitely enjoying your blog and look forward to new updates.
Thanks for your message. Our Twitter handle is @fxrays 🙂